Showing posts with label supplies. Show all posts

12.02.2012

Dec {mini} album Details


Like I said in my previous post, to capture December I decided to try a paper bag album for the first time.  I thought something small will make it easier to keep up with adding photos and stories throughout the busy holiday season.

I started with 3 regular sized lunch bags.  Before I attached them together, I added some inking by using a pencil eraser to make some white dots, then also added some cardstock to various pages to give it more stability. 

I also decorated the cover with some paper from Simple Stories Homemade Holiday collection, added some washi tape (Recollections brand from Michaels) & more stamping.  I layered the bags in every other direction, folded them evenly, then stapled it together.  I cut a piece of felt using a scalloped die to cover up the staples on the binding, which I attached with glue dots. 

I've somewhat planned out what specific dates I want to record, so I started the first few with that in mind.  The first page is reserved for December 1st, including some holiday decorating, then the next pages will be to record a visit to see Santa with my nephew. 

For the insert pages to put in the pockets created by the bags, I cut kraft & red cardstock, embellished with ink or washi tape, then added a felt tab (diecut using Nestabilities) and stapled with Tim Holtz's tiny attacher.

I prepped some supplies to have ready as I go, and keep it in my little "hope" plate nearby.  

From the top left, clockwise: labels & scalloped circles cut from kraft cardstock using Nestabilities dies, flocked punched designs, various Studio G xmas stamps, Simple Stories Handmade Holiday collection & 2 sheets of paper from BasicGrey Clippings Collection, punched stars added white ink using Papertrey Ink's Star Prints stamp set, CTMH Cherish the Day stamp set with several December images stamped in different colors and cut different ways to resemble tags, tickets, etc.

Here are the flocked snowmen.  And using a piece of paper from the SS Handmade Holiday collection, I can cut out the different text & images that were on a single sheet.

I still need to print the journaling cards from Kaite Pertiet to have handy, then hopefully it will be all about the photos & stories that happen this holiday season.

Happy December!


10.02.2012

DIY Stamped Background: Cards


This project has been on my mind for some time and I finally got around to getting it together.  My first loves are scrapbooking & photography, but card making is just too practical to pass up with all of my supplies.  A few issues I run into with making cards:
  • Not enough Birthday cards on hand
  • Not enough masculine cards
  • Cards that are too embellishment heavy (& too expensive to mail)
  • Stamps I want to use but can't figure out how

3.25.2012

Some old, some new...my go-to products...

Here are a few of my favorite products that I am currently using...


My favorite tool I own is still my DYMO Label Buddy label maker.  I often use these labels on my layouts for titles or even to add journaling.  I love the embossed, block lettering {love the process of winding the little wheel around}. I’ve had mine for so long, it got me thinking maybe I should pick up a spare in case it ever breaks, not sure if they plan on making these forever, but I hope they do!  I mainly use black tape but sometimes blue works too.
 

7gypsies has been around for some time, and I still love the nostalgic look of their products.  These 97% Complete stickers I’ve probably had in my stash for about 8 years or so?!  And there’s still so many themes and pieces remaining to pick from.  I like them because they are flat enough to be flat when you need it, yet they have a little cardstock-like sturdiness to them if you want to pop them up or add them to enhance another embellishment.  They include versatile phrases, song lyrics, famous quotes & tabs.

I love these black & kraft photo corners from Recollections (you can get at Michaels). Photo corners may be a little outdated as actual adhesive, but I use them now for aesthetic reasons.  I was primarily using black for the longest time, but recently found the kraft which I wanna try in my kraft artist book (fancy pants).  Sometime I use them on all four corners, sometimes just one or two or combined with rounding corners.  I like the finished look & it gives a vintage feel too, almost inspired by the filters of Instagram.
Using a pencil eraser to stamp dots was a technique I learned in a Quick Quotes class at CKC years ago, and I still love the look of these polka dots.  With a sturdy pencil eraser you get a nice sized dot, as well as a faded look because the ink kind of pools wherever.  It works especially well for a lot of my “boy” pages when I just need a little embellishing.  
I’ve tried dozens of types of ink and ink companies over the years, but for scrapbooking and edging purposes, I still like chalk inks.  I tend to grab for the Quick Quotes Powder Puffs or ColorBox Cat Eyes most.  Quick Quotes colors are a little more muted to me and sort of rustic, giving that vintage feel.  Cat Eyes seem to do better for bolder accenting.  
I’ve always loved staples on layouts, and discovering Tim Holtz's Tiny Attacher has been an absolute delight.  The mini staples, which measure a quarter of an inch (0.25"), are much more appealing on pages and embellishments.  Again with my “boy” pages, I tend to reach for metals and rougher things to embellish with, even though I love adding ribbon and flowers.  When you use a staple to attach those  “girlier” embellishments it seems to work!  One of my go-to enhancements are these ribbon “V’s” as I like to call them, and they are perfect for corners or page edges.
On this layout a Label Buddy title was added, along with 1 photo corner combined with rounded corners.  And the Tiny Attacher was used to add ribbon V's.


3.14.2012

Work Space Organization

  Throughout my many years of scrapbooking I've had various desks, spaces & rooms.  My current space has been in progress for almost a year now... (yikes! time flies) 
  I will share more details about it here & there, as I'm always finding new ways that work for me to store supplies.  
  Being that my space is also located in my bedroom it had to be functional and aesthetic, & I try to keep it neat, altho that's not always the case.  
  After consideration, I decided to go with a counter height desktop as I usually end up standing and moving around to get supplies.  I generally think of supplies I can use as I go, my creativity is very spontaneous.  
  I've had the jetmax storage cubes for about 5 years and they have worked well for me.  I've moved the configuration around from time to time.  
  I love my Making Memories tool carousel which I have stocked with all of my important pieces.  
  My Papertrey Ink stamp collection is right in front of me in CD cases since these are generally my 'go to' stamps for card making.  And my ribbon roll holder is simply just to brighten everything up!  I like being able to get a dual-use out of my supplies by also using it as display/decor items.  

3.13.2012

Crop Supplies


Packing up my supplies for the crop was a little tasking but I think it all worked out considering I don't own a lot of traveling storage.  My tools were stored in the pink & green Amy Butler bag (a.c. moore)


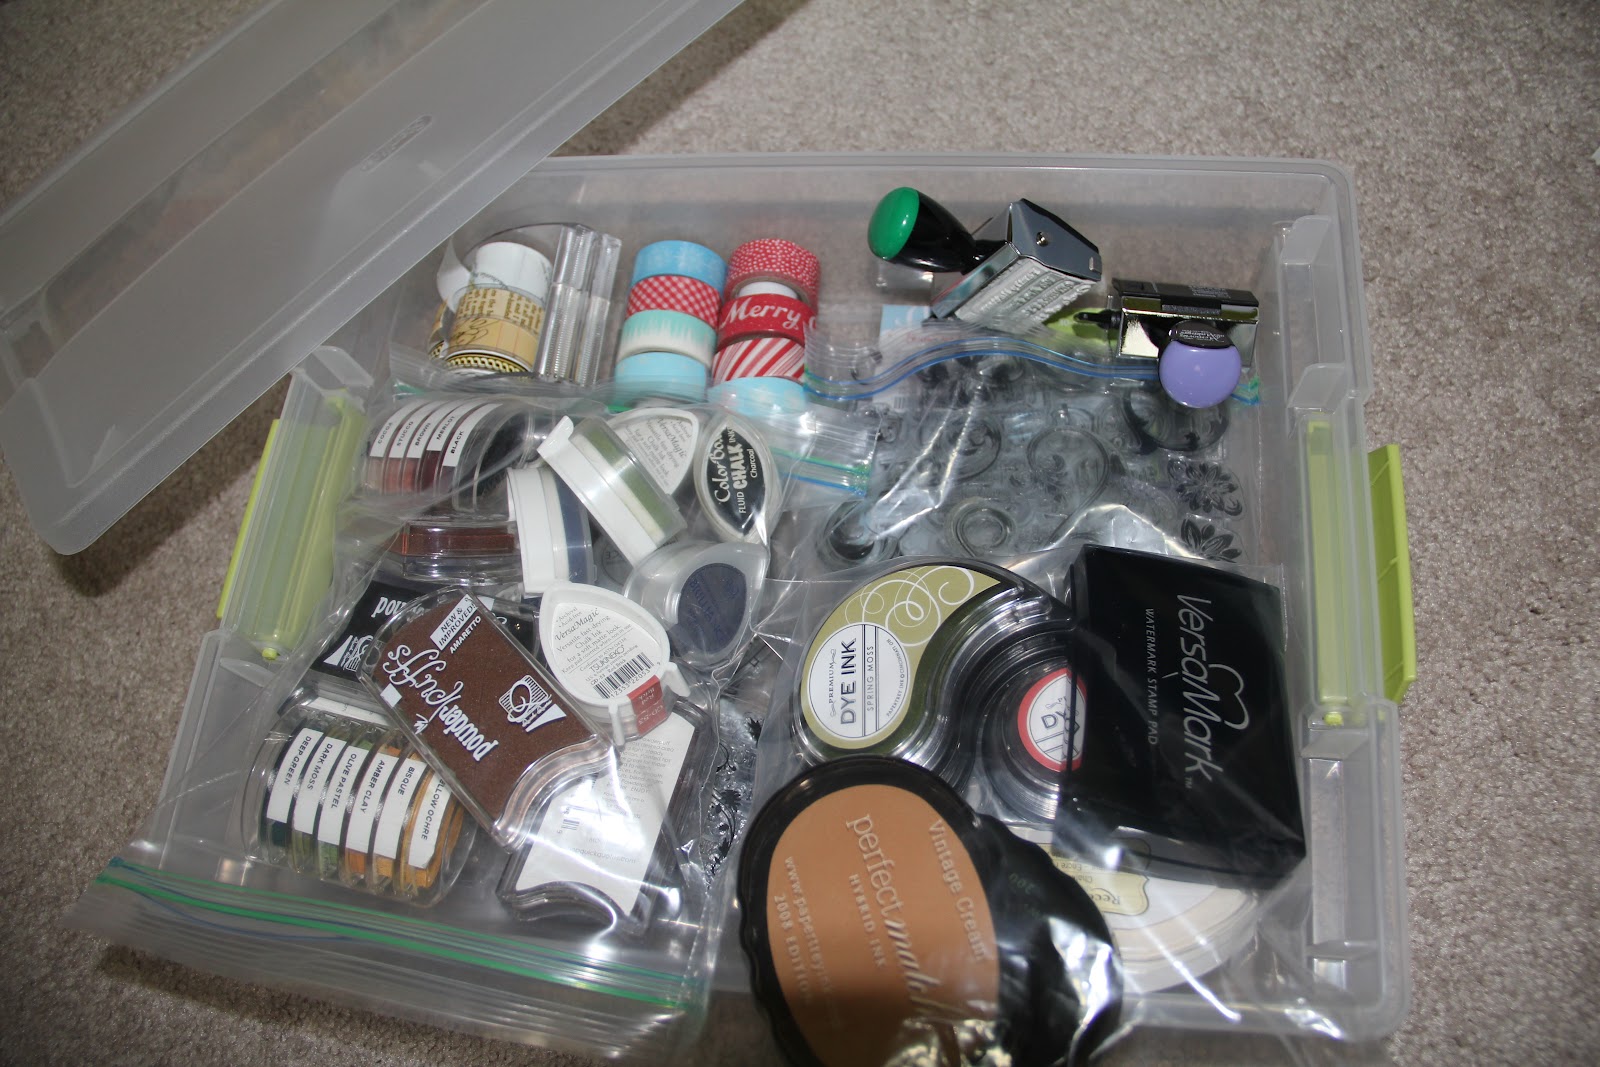
I don't have a 12x12 rolling storage, but I do have a Samsonite carry-on that I love love love.  I was able to store one 8x11 container (target) with all my inks, stamps, tapes, some other embellies, and a 12x12 Iris scrapbook case with my pre-loaded page protectors.  

The other 12x12 ArtBin case with handle I found at Joann's for 50% off, which was a steal.  It came with the tabbed dividers and is very sturdy.  It held all of my paper, paper scraps, stickers/quotes, and even a few 6x6 & 8x8 paper packs in the bottom.  I really want to get another one of these when I catch them on sale again.


The little blue caddy was my solution for tools on my table top and wanting a spot for my drink.  Its actually a shower caddy I found at HomeGoods for $6!  I love re-purposing cheap finds!

Preparing for my first crop

I was excited at the thought of attending my first crop. I dont really have any specific reason why I never did one before, I've seen them enough to know what they are about. I think I was intimidated by the thought of having to pre-plan so much because my style is very spontaneous, and I was probably right in that. I signed up months ago for the Embellish It sponsored Play All Day. I am a fan of Basic Grey papers and have taken Embellish It classes at CKC before.

I waited until a week before to finally look up some pointers on going to a crop and what to take. Upon my first few articles and blog entries, I started to panic at the notion that some scrapbookers plan for a crop for weeks! I was down to a few days. I knew what photos I had to scrap, so I got them out and at the advice of what I read, started putting them into page protectors. I divided out which photos I wanted to a have a full, traditional layout with and others that would be put into divided page protectors. I like this sort of hybrid style of scrapbooking and photo keeping. It takes the pressure off of creating a magnifcent layout everytime and also keeps from getting "too behind". When I completed that task I felt much more confident in being prepared.
Next step was what supplies do I bring? Tools is pretty easy as I have packed for classes before, but trying to pick through all the paper and embellishments proved more challenging. I had been primarily digi scrapping for a year, so I sort of forgot how much physical supplies one has to go through to get the best combination for a given layout. And being a scrapper for 10+ years, I certainly have a buttload of paper & embellies. I tried to at least get more specific for the one page layouts and then find paper pads that would be versatile for the divided page protectors.
I also forgot about titles! Back in the day it was all stickers, then when I got a Cricut, it was all die-cuts. Now I like to have a balance, I don't always go for massive, one-thought titles, but I needed to have some sort of plan to make sure I had the right letters. I got out the trusty Gypsy, and after getting re-acquainted with its functions I whipped up some titles i would proceed to print out in black, white or brown. I figured I could customize colors in other ways.
Now that most of my ideas are ready to go, I have to physically pack it up! Lets see how this goes...