10.02.2012

DIY Stamped Background: Cards


This project has been on my mind for some time and I finally got around to getting it together.  My first loves are scrapbooking & photography, but card making is just too practical to pass up with all of my supplies.  A few issues I run into with making cards:
  • Not enough Birthday cards on hand
  • Not enough masculine cards
  • Cards that are too embellishment heavy (& too expensive to mail)
  • Stamps I want to use but can't figure out how

8.20.2012

Smash // ^Cycle


I love to Recycle, Reuse or the new *buzz word*, Up-Cycle.  One time I read that only 15% of people recycle & I was shocked since it seems to be a simple way to help the environment.  

Here is my quick ^Cycle of a invoice envelope from a DSW order (how fabulous is that? New shoes & a chance to Smash?!)  

I am finding a lot of online stores are using cute & handy pockets for their invoices, another one I noticed was Vera Bradley, which has very sturdy, white pockets.

Anyhooo....

So I just wanted to Smash this quick page of my handsome guy, looking dapper with his suit+flip-flops=gotta love beach weddings.  

I simply just turned the pocket over and used it as a border/background for the photo.  In the pocket I slid a 4x6 piece from Simple Stories Documented collection.  On the back of the card I journaled some loving thoughts,  then attached the ribbon tab with the tiny attacher.

Added some embellishments & wahlaa!  Barely took 15 minutes, my kind of project!

Smashing is a raw, creative outlet...I enjoy it thoroughly!


8.14.2012

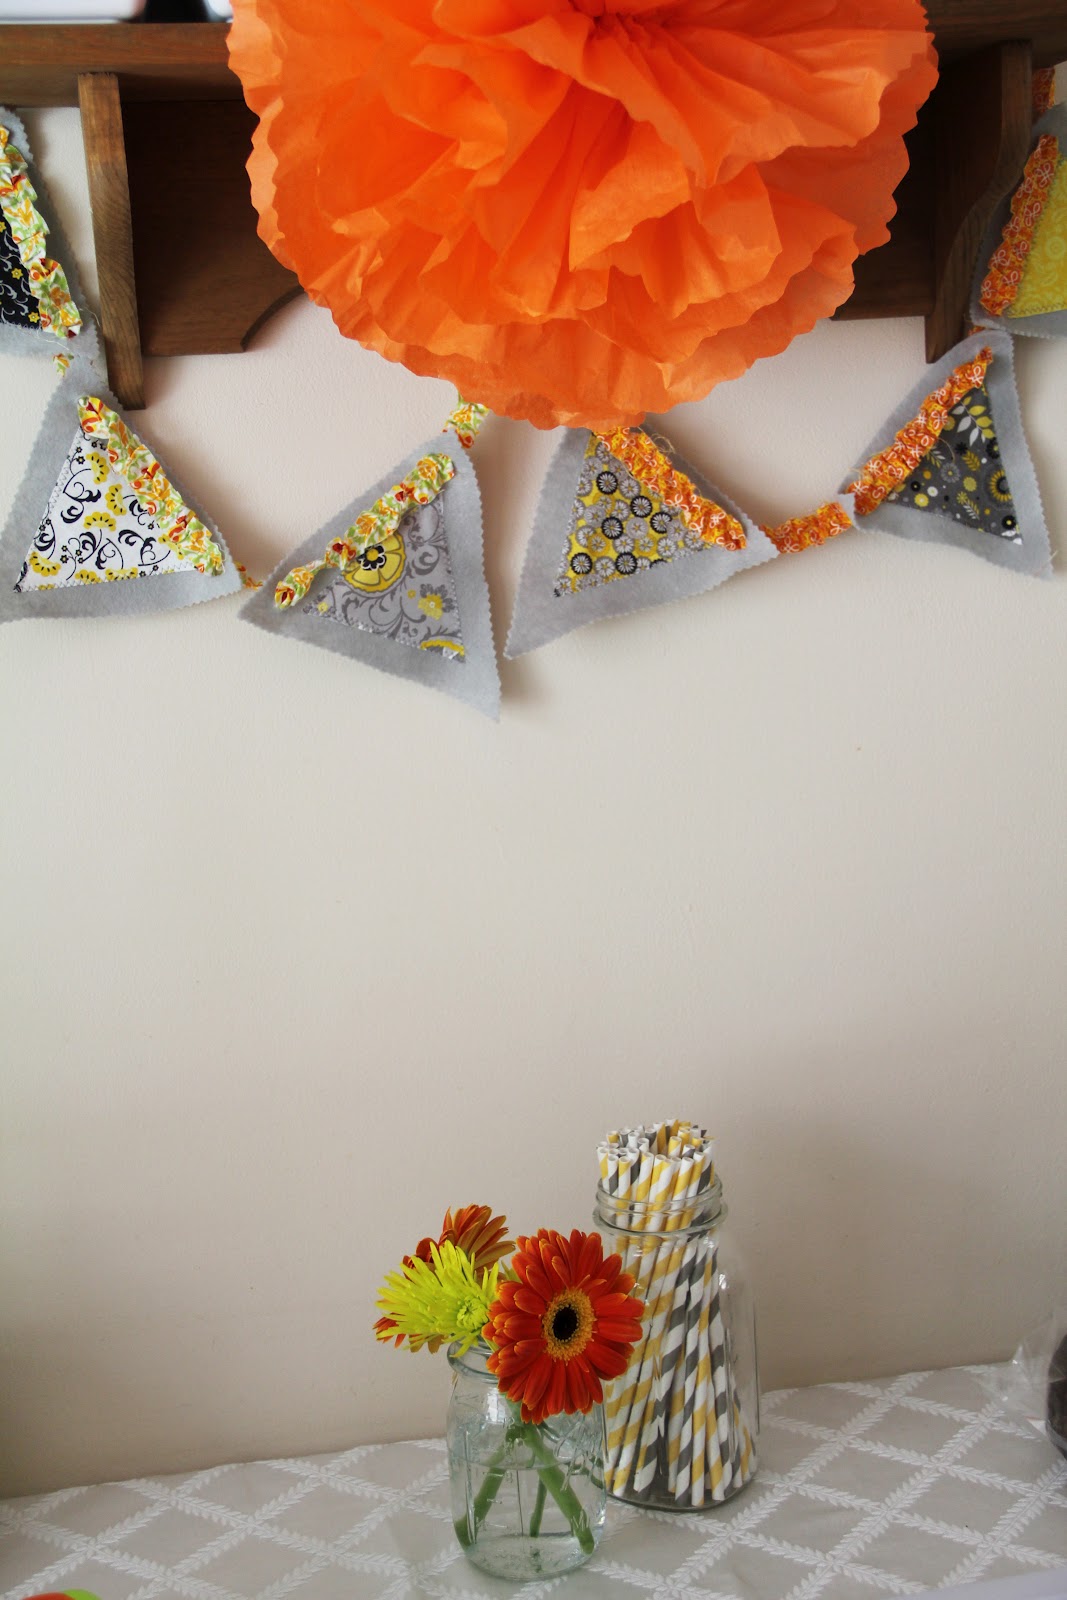
Felt Banner


For my party, I wanted some personal touches that reflect my personality to be in the decor.  I decided to sew a felt banner to drape around the dining room and add some color.

My colors revolved around citrus tones against a gray backdrop, I just love gray.  So I chose a gray felt and happened to find these pre-cut quilting triangles and hexagons in the clearance section at Joanns.  I have been obsessing over hexagons lately, loving the structured shapes and working with them.  
       

So I basically just laid the shapes onto the fabric and cut around it with pinking shears.  I then sewed the quilted pieces to the felt.  This may sound time consuming, but it was pretty quick with the straight lines and not being extremely precise with it.
For some of the banners I had completely cut out the felt shape as well, so I had to connect them somehow.  I found fabric trim in accent colors in the clearance section as well and just punched holes in the corners with a crop-a-dile, then threaded the trim through.  Some of the other banners I cut out together so I linked the pieces with decorative brads.  It worked.

I draped the banners around the main dining area and for decorative accents. 
I also used it as part of the decorative backdrop in the photo booth.
Props via ohhappyday {cute blog}
I love the look & had fun putting it together!  These can easily be reused for other parties or just for room decorations.  They would actually be cute in a baby or kid's room.  I am thinking of making them to sell in the future....we'll see!  

Stay tuned.


7.25.2012

It's All in the Details...


I wanted my 30th Birthday party to reflect me & all the things that I love, so I chose a colorful, citrus-scheme, cupcake theme.{ooh that rhymes!}  I designed the main decor around cupcake presentation and added a few details along the way.

One thing I knew I wanted was depth and varying heights for the cupcake displays.  I have the 3-tier cupcake holder (that everyone has) but wanted to do something a little more authentic.  I came up with an idea to make a tray out of a few things I picked up.  My goal was to keep it inexpensive & upcycle.  I found these square, white trays at Joann's on sale after 4th of July for under $4 each.  Then I stopped at the Goodwill store where I purchased the milk-glass bud vase for 99 cents!  A little glass/plastic adhesive and I was in business.


I wanted the opportunity to use the tray again without a permanent color scheme, so I cut paper to just lay on the bottom of the tray.  Then I used scallop circle nestabilities to die-cut various pattern papers & scattered them around tray & table for some texture.  


Just add cupcakes and wala!

I will add more about my birthday table menagerie another day!  Thanks for checking it out, hope it inspires you.


7.01.2012

Cards

  I wanted to use some of my favorite products & techniques in a card, and had an opportunity with this graduation card.


  I've been resorting to white cardstock bases for the most part, and making 5x7 cards lately.  I used a lot of Papertrey Ink supplies {cardstock, ink, stamps} in this one.
  One of my favorite products I purchased at CKC last year, was this Color Me paper by Hot Off the Press.  I used the silver stars for this one and colored it with Papertrey Ink's True Black dye ink.

 After inking it up, {any ink will do} wipe the embossed part with a tissue to return to silver, white or a variety of colors they sell.
For the details, I embossed a "Celebrate" stamp {Clear & Simple stamps) with clear embossing powder.  

I used a star from Papertrey Ink's Star Prints stamp set, and masked a small punched circle for a phrase from Tiny Tags II stamp set.  With the numbers on the star, it so happens there was "12" I highlighted with gold Stickles for "2012". 

To finish, I edged with some Momento Silver ink and attached some gold ribbon to the star.  
  
A relatively simple card, but with some details that take a little more time to put together.  


Here's the Father's day card I made this year using Papertrey Ink's Rhythm & Soul stamp set.


I used some Coredinations cardstock, embossed with a musical notes Cuttlebug folder.  Add America Crafts ribbon under the sentiment and popped with glue dots.  


5.21.2012

Been...


...having too much fun!  Pic Above {From upper left, clockwise: Lobstahs from Maine ~ Billy Currington Concert ~ I Scream! ~ Sundays are for kickin' back ~ Beach wedding ~ Homemade root-beer floats}  
  And haven't had the focus to blog a lot.  It is a commitment that isn't always easy, but I am trying to stick with my OLW challenge for the year...which reminds me I need to do an updated layout about that.  
  Finally cleared some desk space...first time I've seen this in weeks.  I have a few down weeks to come, so hoping to catch up a bit and get ready before CKC in July!
  Been enjoying Ruche's {A Pin A Day in May} Contest...Check out my Pinterest Board...some unexpected inspiration from this challenge!

unedited
  Awesome spot on Sunday, baby robins waiting for Momma to feed them.  Enjoy working on my photography in the beautiful daylight.


  Currently enrolled in Ali Edward's 31 Things class at Big Picture Classes.  Something new & different to try, always love stepping outside my comfort zone a bit.  Will share when I finally get caught up!


5.05.2012

Happy Nat'l Scrapbooking Day!


Enjoy Nat'l Scrapbooking Day!  

I did a little digi scrapping yesterday and ordered a few prints from Persnickety Prints, check them out they are giving 25% off your scrapbook prints! (code: bigsale25)

Plus, I downloaded their free kit "Sun & Sea" that I used in this layout above.  

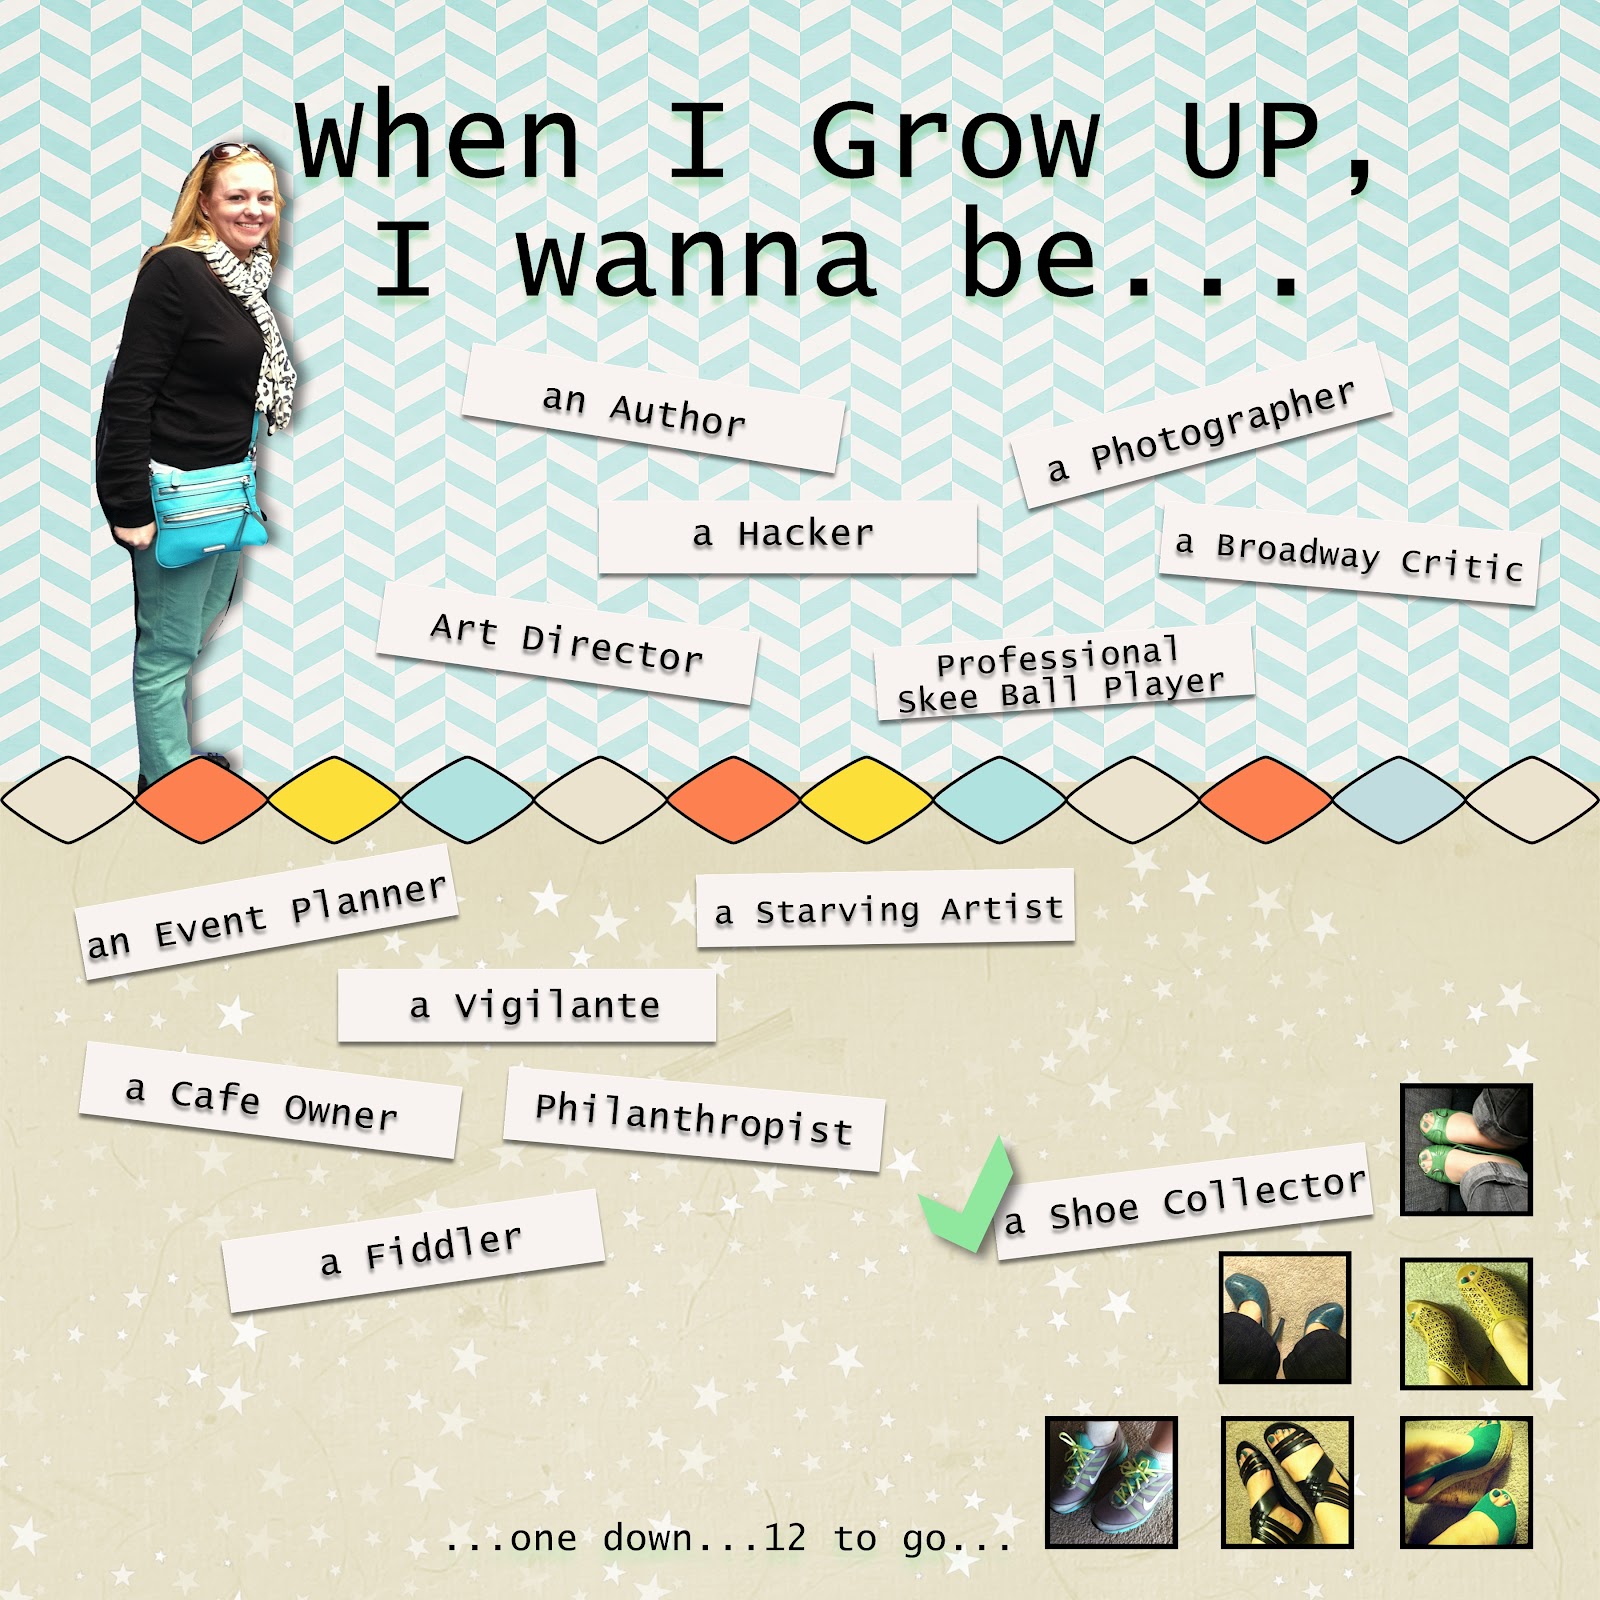
I'm turning the big 3-0 this year, so I am putting together a few "about me" type layouts to mark the occasion.  

Right now I'm into...
  • Cutting around images and having floating people & faces
  • Mint green & orange (in crafts & clothes)
  • Song lyrics - on pages as backgrounds, as titles, as journaling...